Good Morning! Today is a double block!! Please take this opportunity to complete some assignments and post. I have commented on the blogs that I have. If you do not have your name listed on my blog, you had better send me the link! Or follow me and I can get the link myself. I need this in order to update your marks. Tomorrow is the DEADLINE!
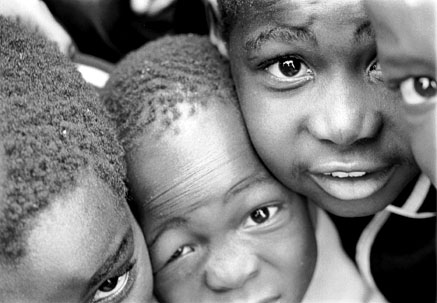
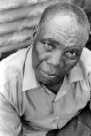
JERRY Uelsmann's work has been exhibited in more than 100 solo shows in the United States and abroad over the past thirty years. His photographs are in the permanent collections of numerous museums worldwide including the
Metropolitan Museum and the Museum of Modern Art in New York, the
Chicago Art Institute,
The International Museum of Photography at the
George Eastman House, the
Victoria and Albert Museum in London, the
Biblioteque National in Paris, the
National Museum of American Art in Washington, the
Museum of Fine Arts in Boston, the
National Galleries of Scotland, the
Center for Creative Photography, Tucson, Arizona, the
National Museum of Modern Art in Kyoto, Japan, the
Moderna Museet in Stockholm, the
National Gallery of Canada, and the
National Gallery of Australia.


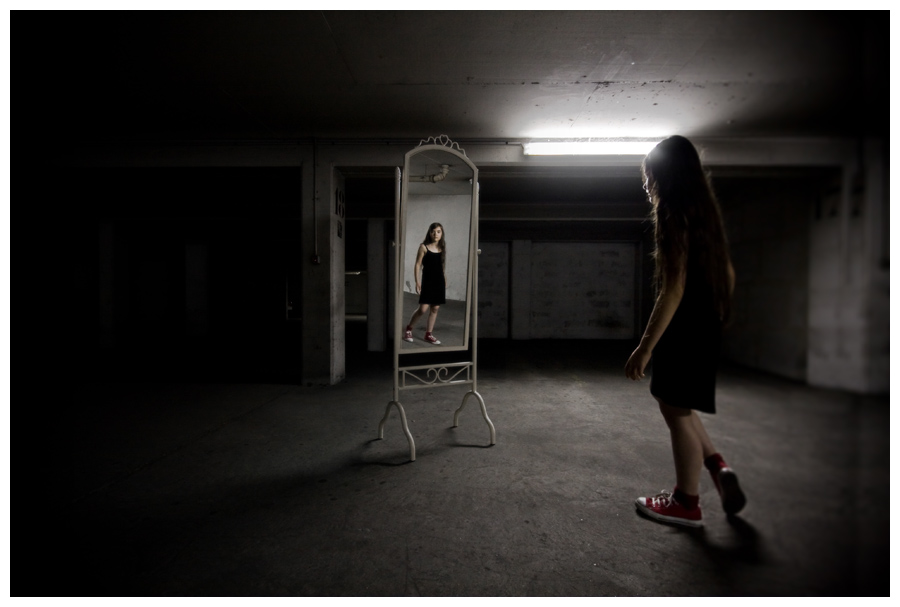
For those moving on (Grade 11) we are going to talk a little about self portraits.
The next assignment is a self portrait with reflection (NO MIRRORS Please)
Assignment#3
Use what you have learned about composition (form previous assignment) and lighting, and backgrounds when shooting. Create a portrait that is a reflection of yourself. These will be marked in three sections
3 points for Criteria: are all areas covered? did you follow the directions?
3 points for Creativity: Did you take lots of shots and tried different perspectives, did you think 'outside the box and try something different?
3 points for quality: including exposure, the light and dark in an image, is the image grainy?-is it meant to be? Are the colours vibrant or are they meant to be subtle.--It should be obvious.
This will be marked out of 9.
*Each photo you use for the assignment MUST be an original of yours, one that you took this term.
*The image must be a portrait of you reflected in something. ie: a puddle, a door handle, a salt shaker, a scrap of metal, the back of a shiny spoon.
*NO pictures of reflections in i-pods or cell phones PLEASE!
*Save your image and post 4 different shots to your blog!!
Click here to see FLIKR photographers capturing a similar assignment
also: try to position the camera up so that it is not in your photograph, if possible.
Try a hail Mary
A
Hail Mary pass or
Hail Mary play in
American football refers to any very long
forward pass,
long bomb, or
dragon made in desperation with only a small chance of success, especially one thrown at or near the end of a half. The expression was made famous when it was used to describe the game-winning touchdown pass by Dallas Cowboys quarterback
Roger Staubach to
Drew Pearson in a
NFL 1975-76 divisional playoff game. Afterwards, it was reported that Staubach said, "I closed my eyes and said a
Hail Mary."
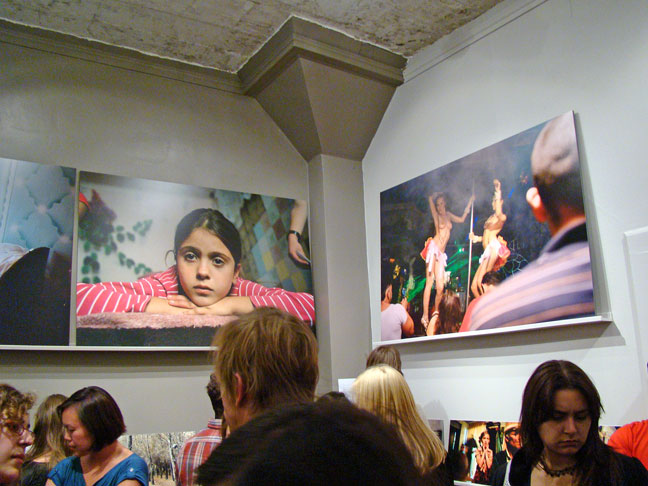
At its most basic, a Hail Mary photo is one you shoot with the camera extended out away from your body, usually up high, but sometimes out at the side, because you’re either blocked or obstructed from a more normal approach, or in some cases, because the angle you actually want is higher up and the situation does not allow you to physically raise yourself up. Usually, it’s because fans, police, or other photographers are in your way, depending upon the event you are shooting. Hopefully, I’ll teach you how to increase your percentage of success with this technique!
To maximize your chances of pulling off a decent shot, here’s what you need to do:
1. Try to pre-focus on your subject. This may be difficult if there are other photographers or cops in your way, but give it your best guess. You’ll find that the distance will not change significantly between a ‘ground level’ shot and one with the camera extended up.
2. Use a wide angle lens. This type of shot is always more successful if applied in wide angle situations; the optics of wide lenses make focusing more forgiving.
3. Now raise the camera over your head. I like to use two hands for this since it helps me keep the camera more or less level to the scene.
4. Point the camera slightly down to accommodate the new shooting angle. This is the hardest part, since you can’t see through the finder to know the correct angle.
5. Now while shooting, carefully pivot the camera. You can start at the ‘top’ of your best guess of the right perspective, and work your way down, shooting as you slowly change the angle of the photo.
6. Keep repeating this as you photograph the scene.
7. As soon as it’s feasible, check your results to see if your guess on the shooting angle was correct.
8. If the situation in front of you changes and you can jump in closer, you may be able to abandon this approach and go for a straight shot.


.jpg)


 Please remember to post assignments and keep your 'photo of the week' updated! The winner of the photo 'JUMP' will be awarded on FRIDAY and the winner for this week 'SUN' and 'INTERESTING DETAIL'
 *Please remember- POST the photos of the week!


 <------ This is a self portrait of Olivia Bee